MEGASTUDIO 21-10-22
From Habitat: Giardino
Red light printing - Workshop
Participants: Pongie, Paula, Benni, Angelina and Andrea.
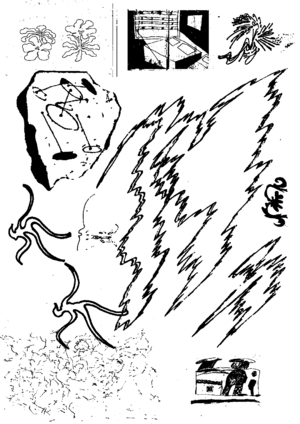
Starting from 18:00, we started printing materials on the plastic sheets to be enlarged and printed in the darkroom.

Ways to work with the enlarger
- drawing with markers, pen or other drawing tools on the acetate sheet.
- printing designs with laser printer, usually A4 (don't forget to print the negative version, in case of a picture) on the negative sheet. The designs can fit the enlarger frame (5x5cm) to be enlarged or fit into the preferred size for a contact print (printing ratio 1:1)
- working with objects, liquids, shapes, and other materials to make contact print – silhouette drawing
- using a developed black and white film
Chemicals
- 1l of Developing solution: 1/10 Bellini BX100 + 9/10 water.
- 1l of Fixing solution: 1/10 Bellini FB100 + 9/10 water.
The temperature of the water was around 15 degrees. We used water from the sink.
Tools
- A completely dark space, preferably with a sink.
- A red light
- An Enlarger. In Cà de Monti we use a Durst M601.
- n.2 trays (one for the developer, one for the fixer)
- Measuring vessels for making the solutions.
- n.2 clamps
- paper
Papers
We tried two different expired papers:
- ILFORD
- Bellini
Since they expired; we experienced a white, blurry vignette in all the prints. Bellini's paper needed more time than expected. We had to increase the light up to the maximum and tried with different time settings. The best results with the Bellini (Pau, Angelina) came up with exposure between 20 and 25 seconds.
